

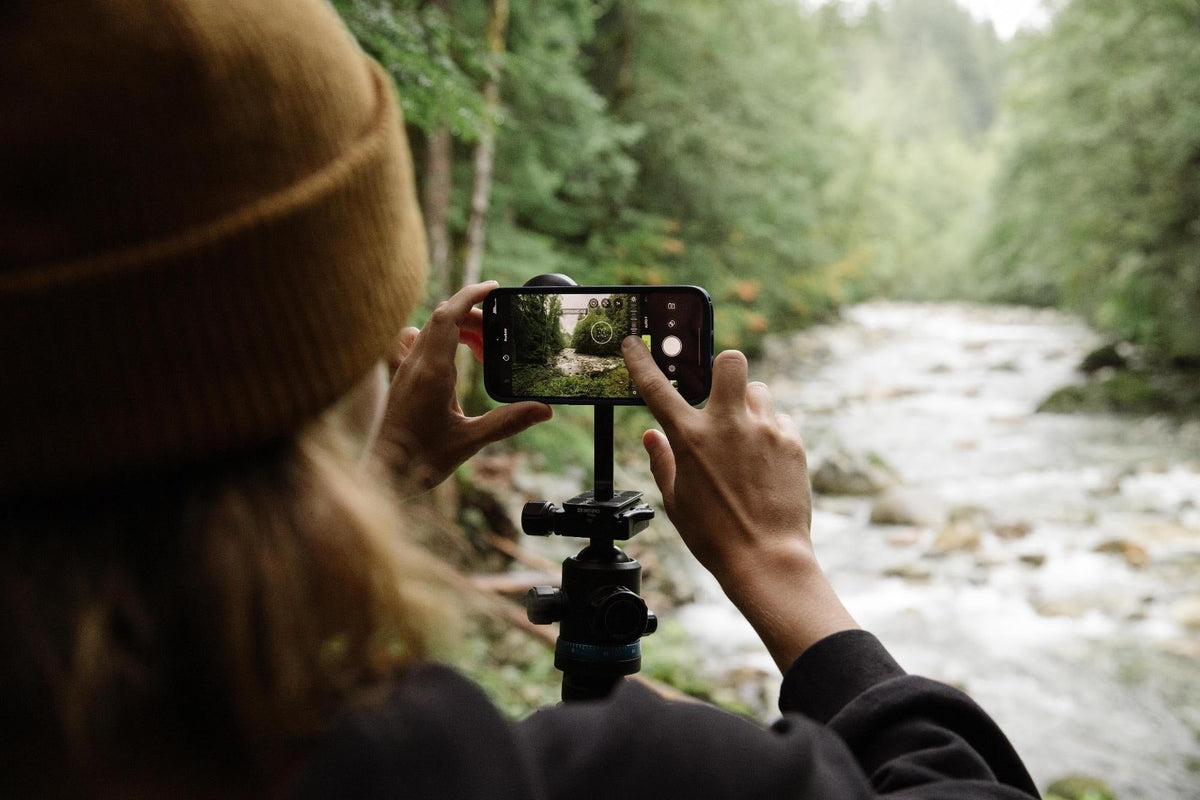
Las 5 mejores configuraciones de la cámara del iPhone para fotos de mejor calidad
Did You Know?
The iPhone camera is a top choice for mobile photography, delivering sharp details, lovely tones, and insanely good quality. But with a few quick tweaks, you can make your mobile photos look even more pro. Apple has a few hidden settings — and I’m here to show you five easy steps to get there.
Once you've mastered photos, check out our guide on the top iPhone settings for better-looking videos.
1. Shoot in RAW Format
A no-brainer for the pros. With an iPhone 12 Pro or later running iOS 14.3 or newer, you can shoot in Apple ProRAW for your photos — this is game changing. This means you get more control over exposure, color, and white balance, allowing for richer edits in the Photos app, or in your favorite 3rd party editing apps, likeVSCO or Lightroom Mobile.
Note: ProRAW isn’t available with Live Photos, Portrait Mode, or video recording.
How To Do It:
Go to Settings > Camera > Formats and toggle on Apple ProRAW & Resolution Control under Photo Capture.
When you're ready to shoot in ProRAW, open the Camera app and tap the RAW button before taking your photo.
If you turn off RAW in the Camera app, your photos will default to the format selected under Camera Capture in Settings > Camera > Formats — which are typically either High Efficiency (HEIF) or Most Compatible (JPEG).
Set ProRAW Resolution and Format
With the iPhone 14 Pro and later, you can shoot ProRAW photos in either 12 megapixels or 48 megapixels. The 48 MP option gives you more detail and more flexibility for zooming in and cropping creatively, while 12 MP photos offer a smaller file size and, therefore, less detail.
To choose your resolution:
Open the Settings app and tap Camera.
Select Formats.
Enable Apple ProRAW to access and choose your resolution options.
Note: Remember, RAW files are MUCH larger file sizes than JPEGs! Double check to make sure you have enough storage.


2. Adjust Exposure
How To Do It:
In Apple's Settings...
Open the Camera app on your iPhone.
Tap on your subject to set the focus and bring up the exposure slider.
You'll see a small sun icon next to the focus square.
Slide the sun icon up or down:
Slide up to make the image brighter.
Slide down to make it darker.
If you're using one of the newer iPhone models, there's an even smoother way:
Double-press the Camera Control to open additional settings.
Swipe to the Exposure setting.
Tap to select it, then slide your finger to adjust the exposure.
Note: Need to lock your focus and exposure settings? Press and hold on to the focus area until you see AE/AF Lock at the top of the screen. This keeps your settings consistent for multiple shots. To unlock, just tap the screen again.


3. Adjust Macro Control
How To Do It:
- Open the Camera app on your iPhone.
- Get close to your subject — as close as a few centimeters.
- When you're within the right distance, a macro icon (it looks like a flower) may appear on the screen.
- Tap the macro icon if you want to toggle automatic macro switching on or off.
- Macro On means your iPhone will automatically use the Ultra Wide camera for close-ups.
- Macro Off lets you control when to use it.
- Adjust as needed:
- If the image is blurry, try stepping back slightly.
- You can also tap 0.5x to manually switch to the Ultra Wide lens.


4. Preserve Camera Settings
How To Do It:
Open Settings > Camera.
Scroll to "Preserve Settings".
Here, you can keep your last mode (like Video or Pano), the last-used filter, or the Live Photo setting.
Pro Tip: Use this if you often switch between specific modes. It’ll save you time and keep you from missing a shot.


5. iPhone 16 & 17 Only: Camera Controls
The latest iPhone 16 and iPhone 17 devices have “Camera Controls,” which allow you to open your iPhone camera and access your most common camera settings on the fly. You can quickly plug and play certain adjustments, such as file type or HDR settings, and set them as the default settings whenever you open the camera app.
How To Do It:
Open the Camera App:
Tap the Camera Control button to launch the Camera app.
Access Additional Settings:
Double-tap the Camera Control to open an overlay with available settings like zoom, exposure, or focus.
Select and Adjust a Setting:
Swipe over the Camera Control to scroll through the settings.
Tap the setting you want to adjust.
Slide your finger to fine-tune the setting to your preference.
The setting is saved and will be ready the next time you use the Camera Control.
Capture Your Photo:
Tap the Camera Control to take your shot with the new settings.
Customize the Camera Control Clicks:
Prefer a single tap instead of a double tap to access settings?
Go to Settings > Camera.
Tap Camera Control.
Choose between Single Tap or Double Tap as your preferred method.
Adjust Accessibility Options:
You can also modify how the Camera Control responds to your touch:
Pressure Sensitivity: Change how hard you need to press.
Tap Speed: Adjust how quickly you need to tap for double taps.
To customize these, go to Settings > Accessibility > Camera Control.

Leer más

The gear, accessories, and the app that makes any iPhone model's camera the best it can be for photos and videos.
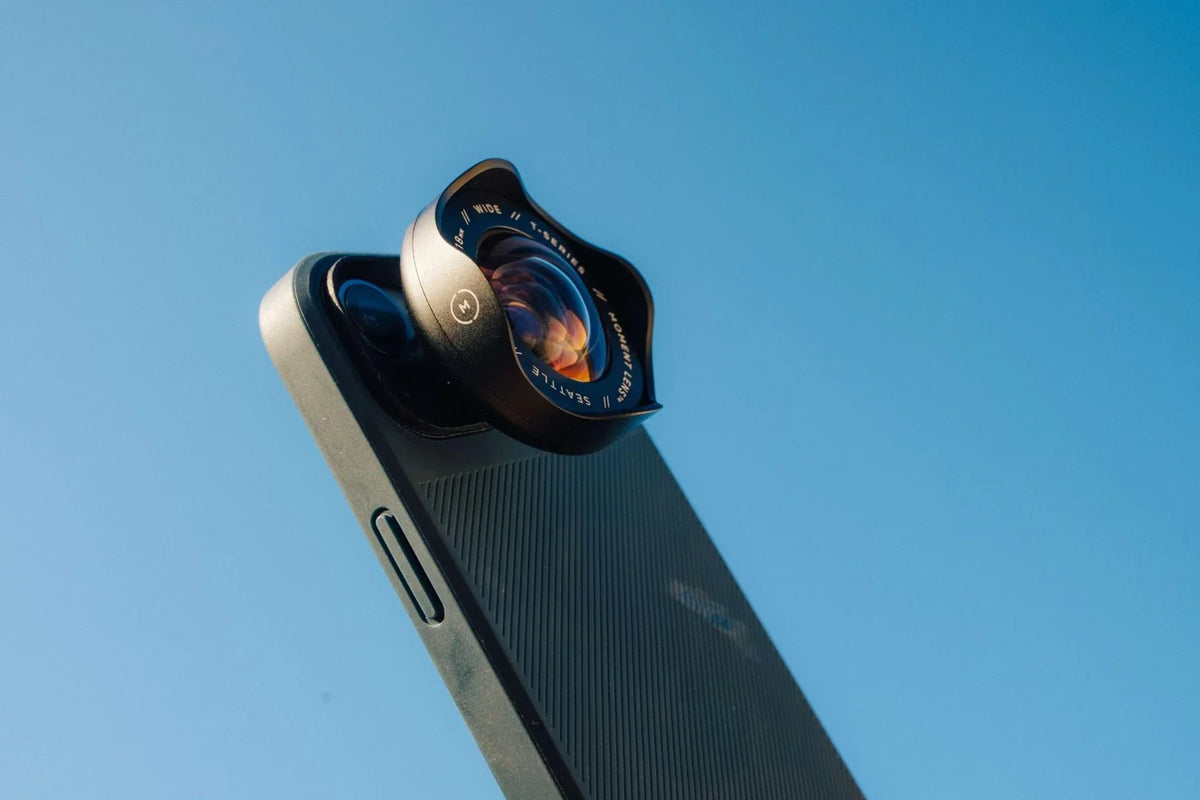
Field testing the best-selling Moment Wide 18mm lens for mobile photography and filmmaking across all subjects: portraits, architecture, and lifestyle.