




How to Get the Most out of Apple's Macro Control | Tips, Lenses, Etc.
How to Get the Most out of Apple's Macro Control | Tips, Lenses, Etc.
With the introduction of the iPhone 13 and its later successors, Apple has introduced an innovative yet often under appreciated feature into the Pro series: Macro Control. This feature lets users use their camera to capture close-up images of detailed textures or subjects.
In earlier models, the ultra-wide lens could not focus effectively due to its fixed nature, which begged the upgrade of new hardware for the ultra-wide lens in new iPhone lineups to achieve precise focusing.
These enhancements have revolutionized the experience for mobile photographers. Before this development, taking close-up images with the iPhone's native camera was pretty challenging. In comparison, Samsung Galaxy phones could accommodate Macro functionality a year earlier, thanks to their minimum focus distance at an optical level.
 |
 |
Why We Need to Adjust Settings for iPhone's Macro Control
The iPhone camera system is designed to detect proximity to a subject. Suppose it recognizes that the subject is closer than the minimum focus distance the primary camera lens allows. In that case, the system seamlessly transitions to the phone camera's-native macro lens, ensuring proper focus.
When utilizing an add-on Moment Lens, the built-in lenses are partially obscured, which can impede the iPhone's ability to gauge the distance to subjects accurately. That means the device may mistakenly assume that the user is approaching an object and attempt to switch to the macro lens unwarranted. Users gain manual control over this functionality by activating the macro toggle button.
Manage Automatic Macro Switching
You can decide when your camera switches to the Ultra Wide mode for macro photos and videos. Just follow these steps:
Open the Camera app on your iPhone and move close to your subject.
When you're close enough for macro photography, you'll see an "Auto Macro On" button pop up on the screen.
Tap the "Auto Macro On" button if you want to stop the camera from automatically switching modes.
If your photo or video starts to blur, you can either move back slightly or tap the .5x button to switch manually to the Ultra Wide camera.
To reactivate automatic macro switching, just tap the "Auto Macro Off" button.
If you'd rather handle macro switching manually every time, go to Settings > Camera and turn off "Macro Control."
And if you want to keep your macro settings consistent between uses, navigate to Settings > Camera > Preserve Settings and enable "Macro Control."

Using Our Moment Lenses
To be clear, you should always shoot in the Moment Pro Camera App while using Moment Lenses on your iPhone. Our app is specifically designed to work in tandem with our lenses and mediates any challenges the native camera app has with our hardware.
However, if you're shooting on an Android or don't want to download the app, the changes to the iPhone's hardware and software will affect how Moment lenses work. Thus, you have to adjust the macro control when using our lenses, otherwise they'll confuse the iPhone's camera.
Please refer to the section above if you haven't already for the proper settings.

Tips for Great Macro Photos & Video
1. Use Lots Of Available Light
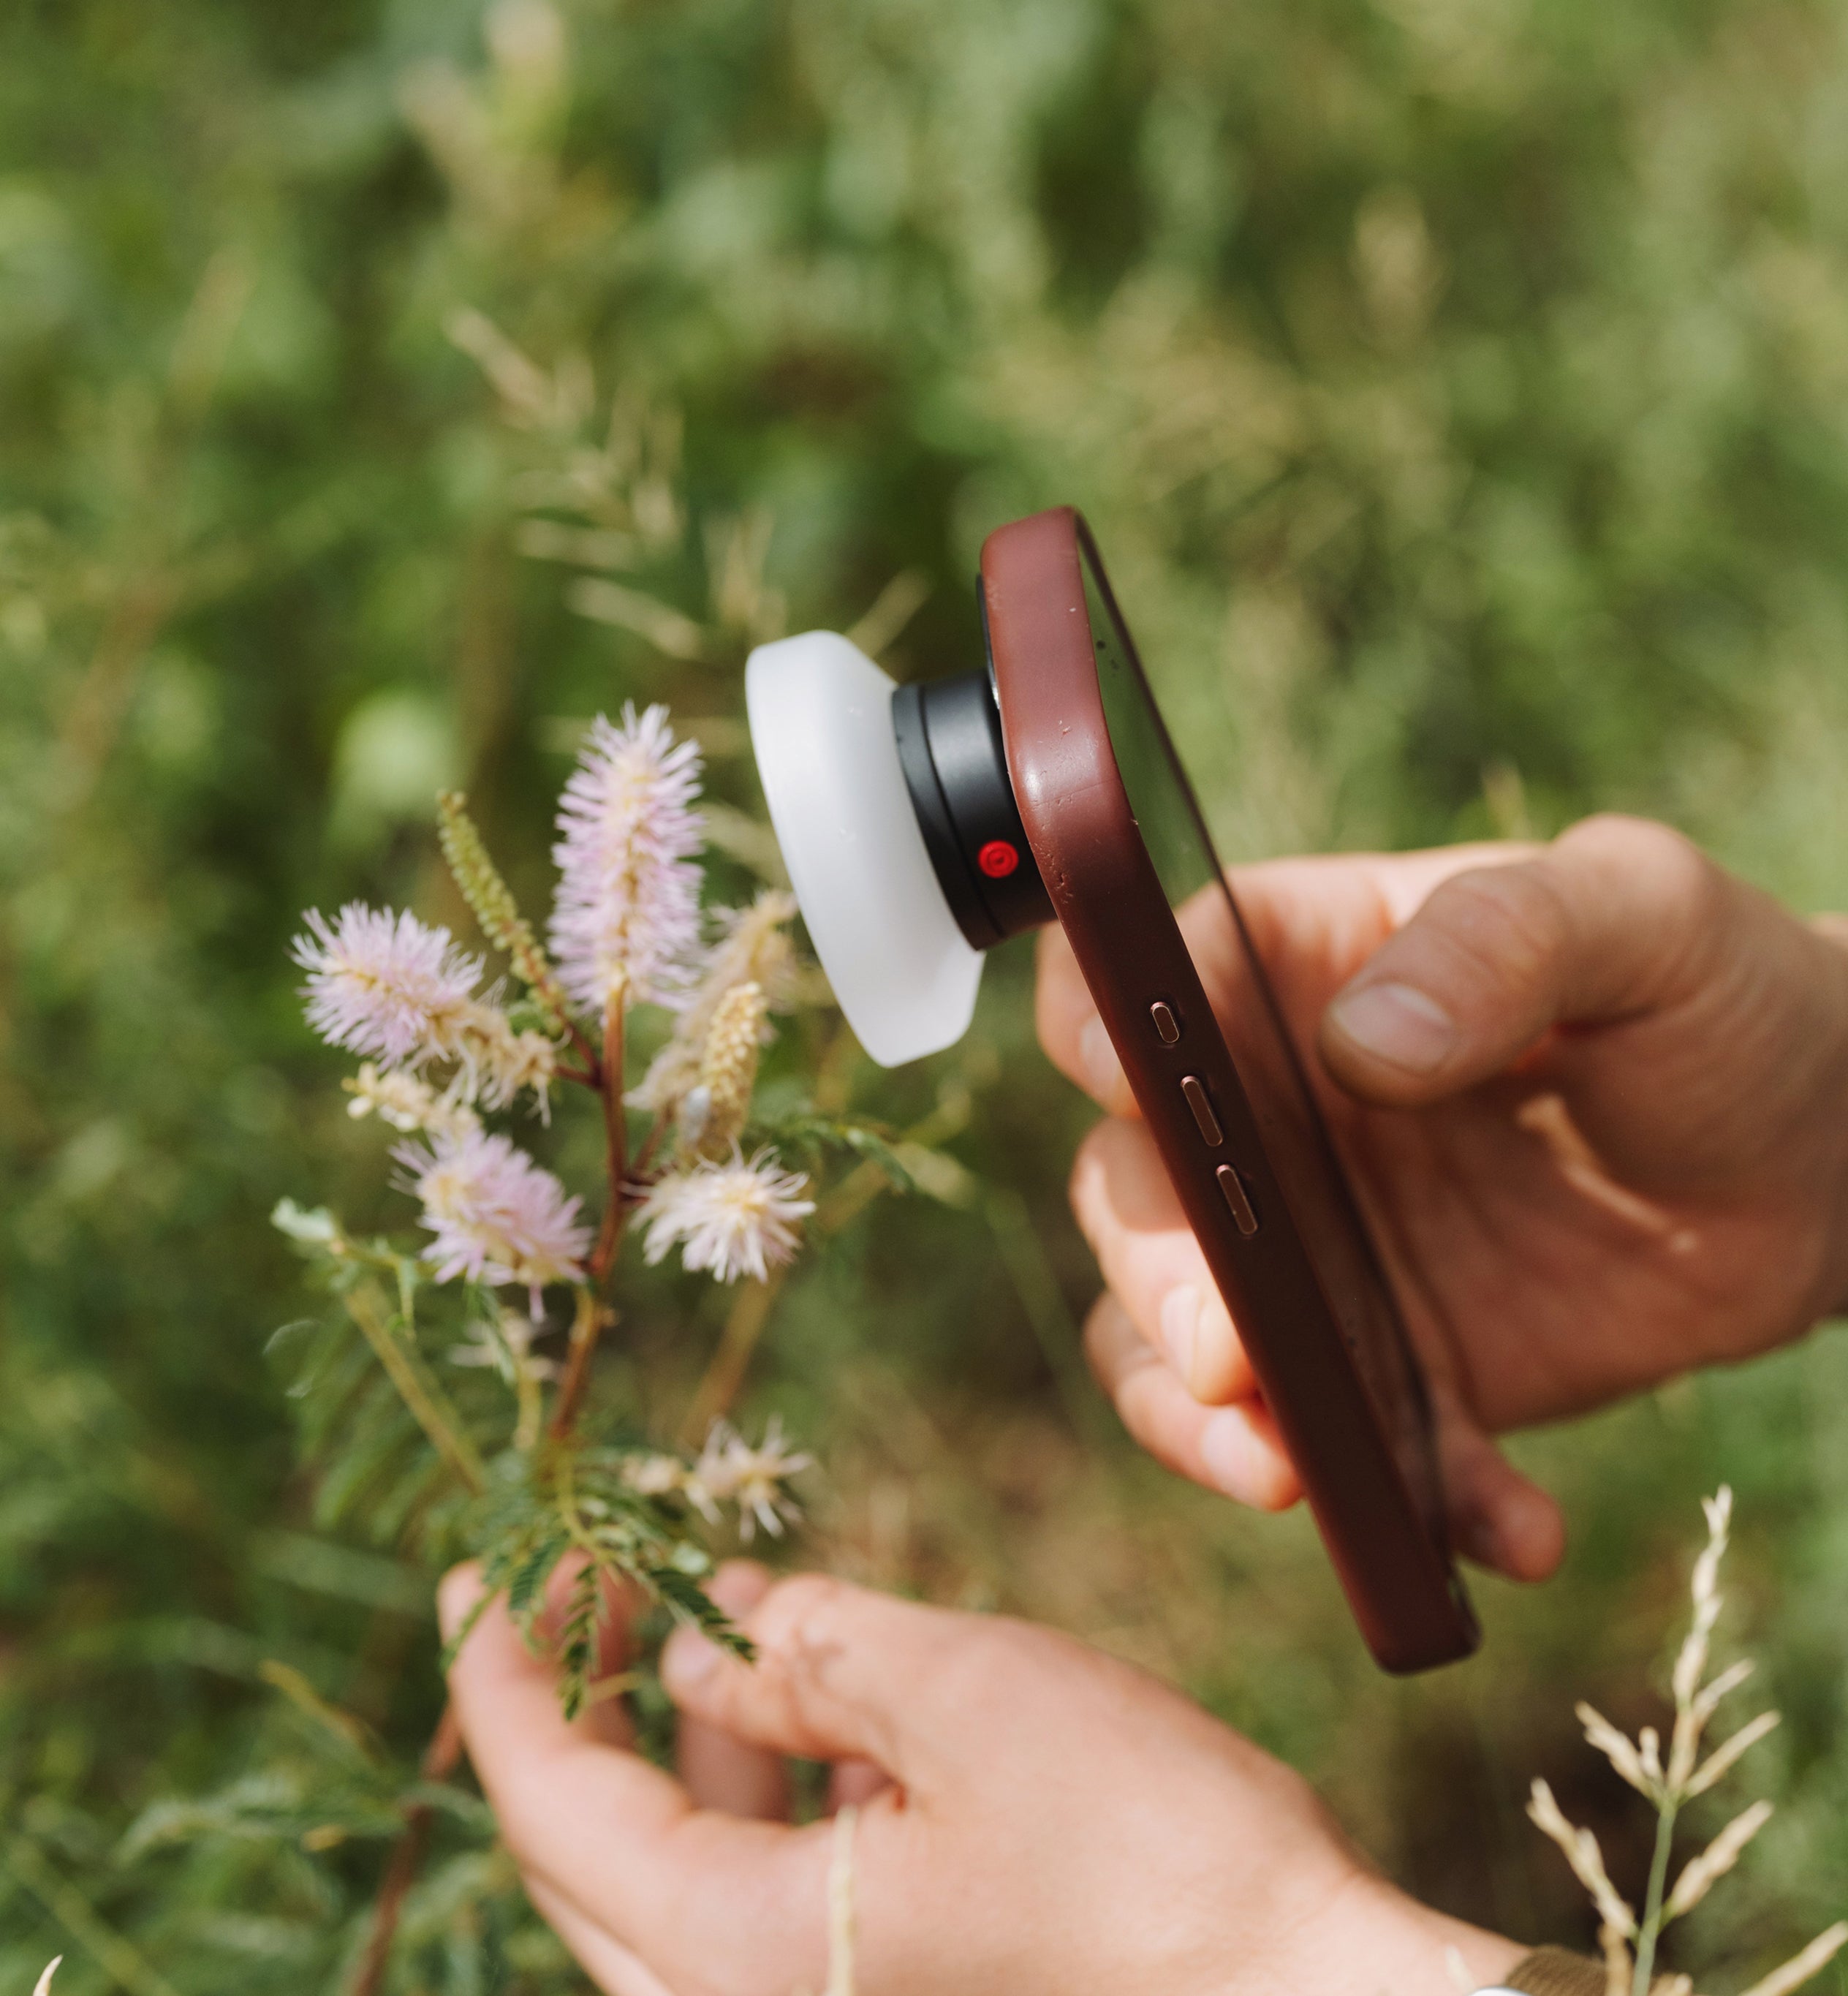
2. Use The Macro Hood
3. Use Focus Peaking
4. Use a Steady Hand or Tripod
5. Share Your Work!
We all love macro photos, so please share them with us using the tags #shotonmoment and #momentmacro.

Read more

Moment Macro 10x Lens | Best Camera Tool for Plant Lovers & Gardeners Botanical photography of nature's flora and fauna stems from textbook illustrations of the nat...

35 Photos From the Moment CineBloom Filter CineBloom diffusion filters help craft dreamy-looking images and footage effortlessly; no post-production needed. They come i...