
Cómo tomar mejores fotos de paisajes con un iPhone
How To Shoot Better Landscape Photos on iPhone
Setting Up iPhone for Shooting:
So one of the main things I have changed in my iPhone settings is switching from shooting in JPEG or HEIF to shooting in ProRaw. This will give more dynamic range and color information than the standard JPEG/HEIF profiles in the normal camera app, at the cost of requiring some editing in post, either on a computer or in an app on your phone.
Note, this is in iOS 26.2.1 as of the time of writing this.
To do that, go to the Settings app.
Then to Camera.
Then to Formats.


Then on this screen, you will have the option to turn on Apple ProRaw.
This will result in much larger photo file sizes, so be prepared for that. But the trade-off is that you will have better image quality after you do some editing.
If you would like better manual control over your images as well, I recommend downloading the Moment Pro Camera App, which is what I used for all of the iPhone ProRaw photos in this article. It let me set my Shutter Speed, ISO, and focus to achieve the look I wanted.


To turn on ProRaw in the Moment Cam App, open the app and tap the top of the screen where it says ‘HEIF’ or ‘JPEG’, depending on your iPhone. Mine started with a JPEG file.


Then you will go to the left-most tab and change it from ‘Natural’ to ‘ProRaw’.


I leave Fusion options set to ‘off’ because they're unpredictable and I prefer manual control.There are also a bunch of other iPhone apps that let you shoot RAW images, look around, and find one that best suits your shooting style!

Example Photos:
I took a day trip up to Arthurs Pass near Christchurch, New Zealand towards the end of the summer in order to grab some photo and video and decided to lean heavily on my iPhone when I was looking for images in the mountains. I did also have my Sony A7RV with me with the Sony 20-70 f/4G lens as well to take some comparison shots.

Really what I decided to focus on with the iPhone on this trip was composition over shallow depth of field, which is what I do a lot of the time when I am shooting with the iPhone since it has a bit less control over having out of focus areas in your images.


Here are a few comparison images that I took with both the iPhone 13 Pro and the Sony A7RV, a full-frame compact camera.
Rule of Thirds:
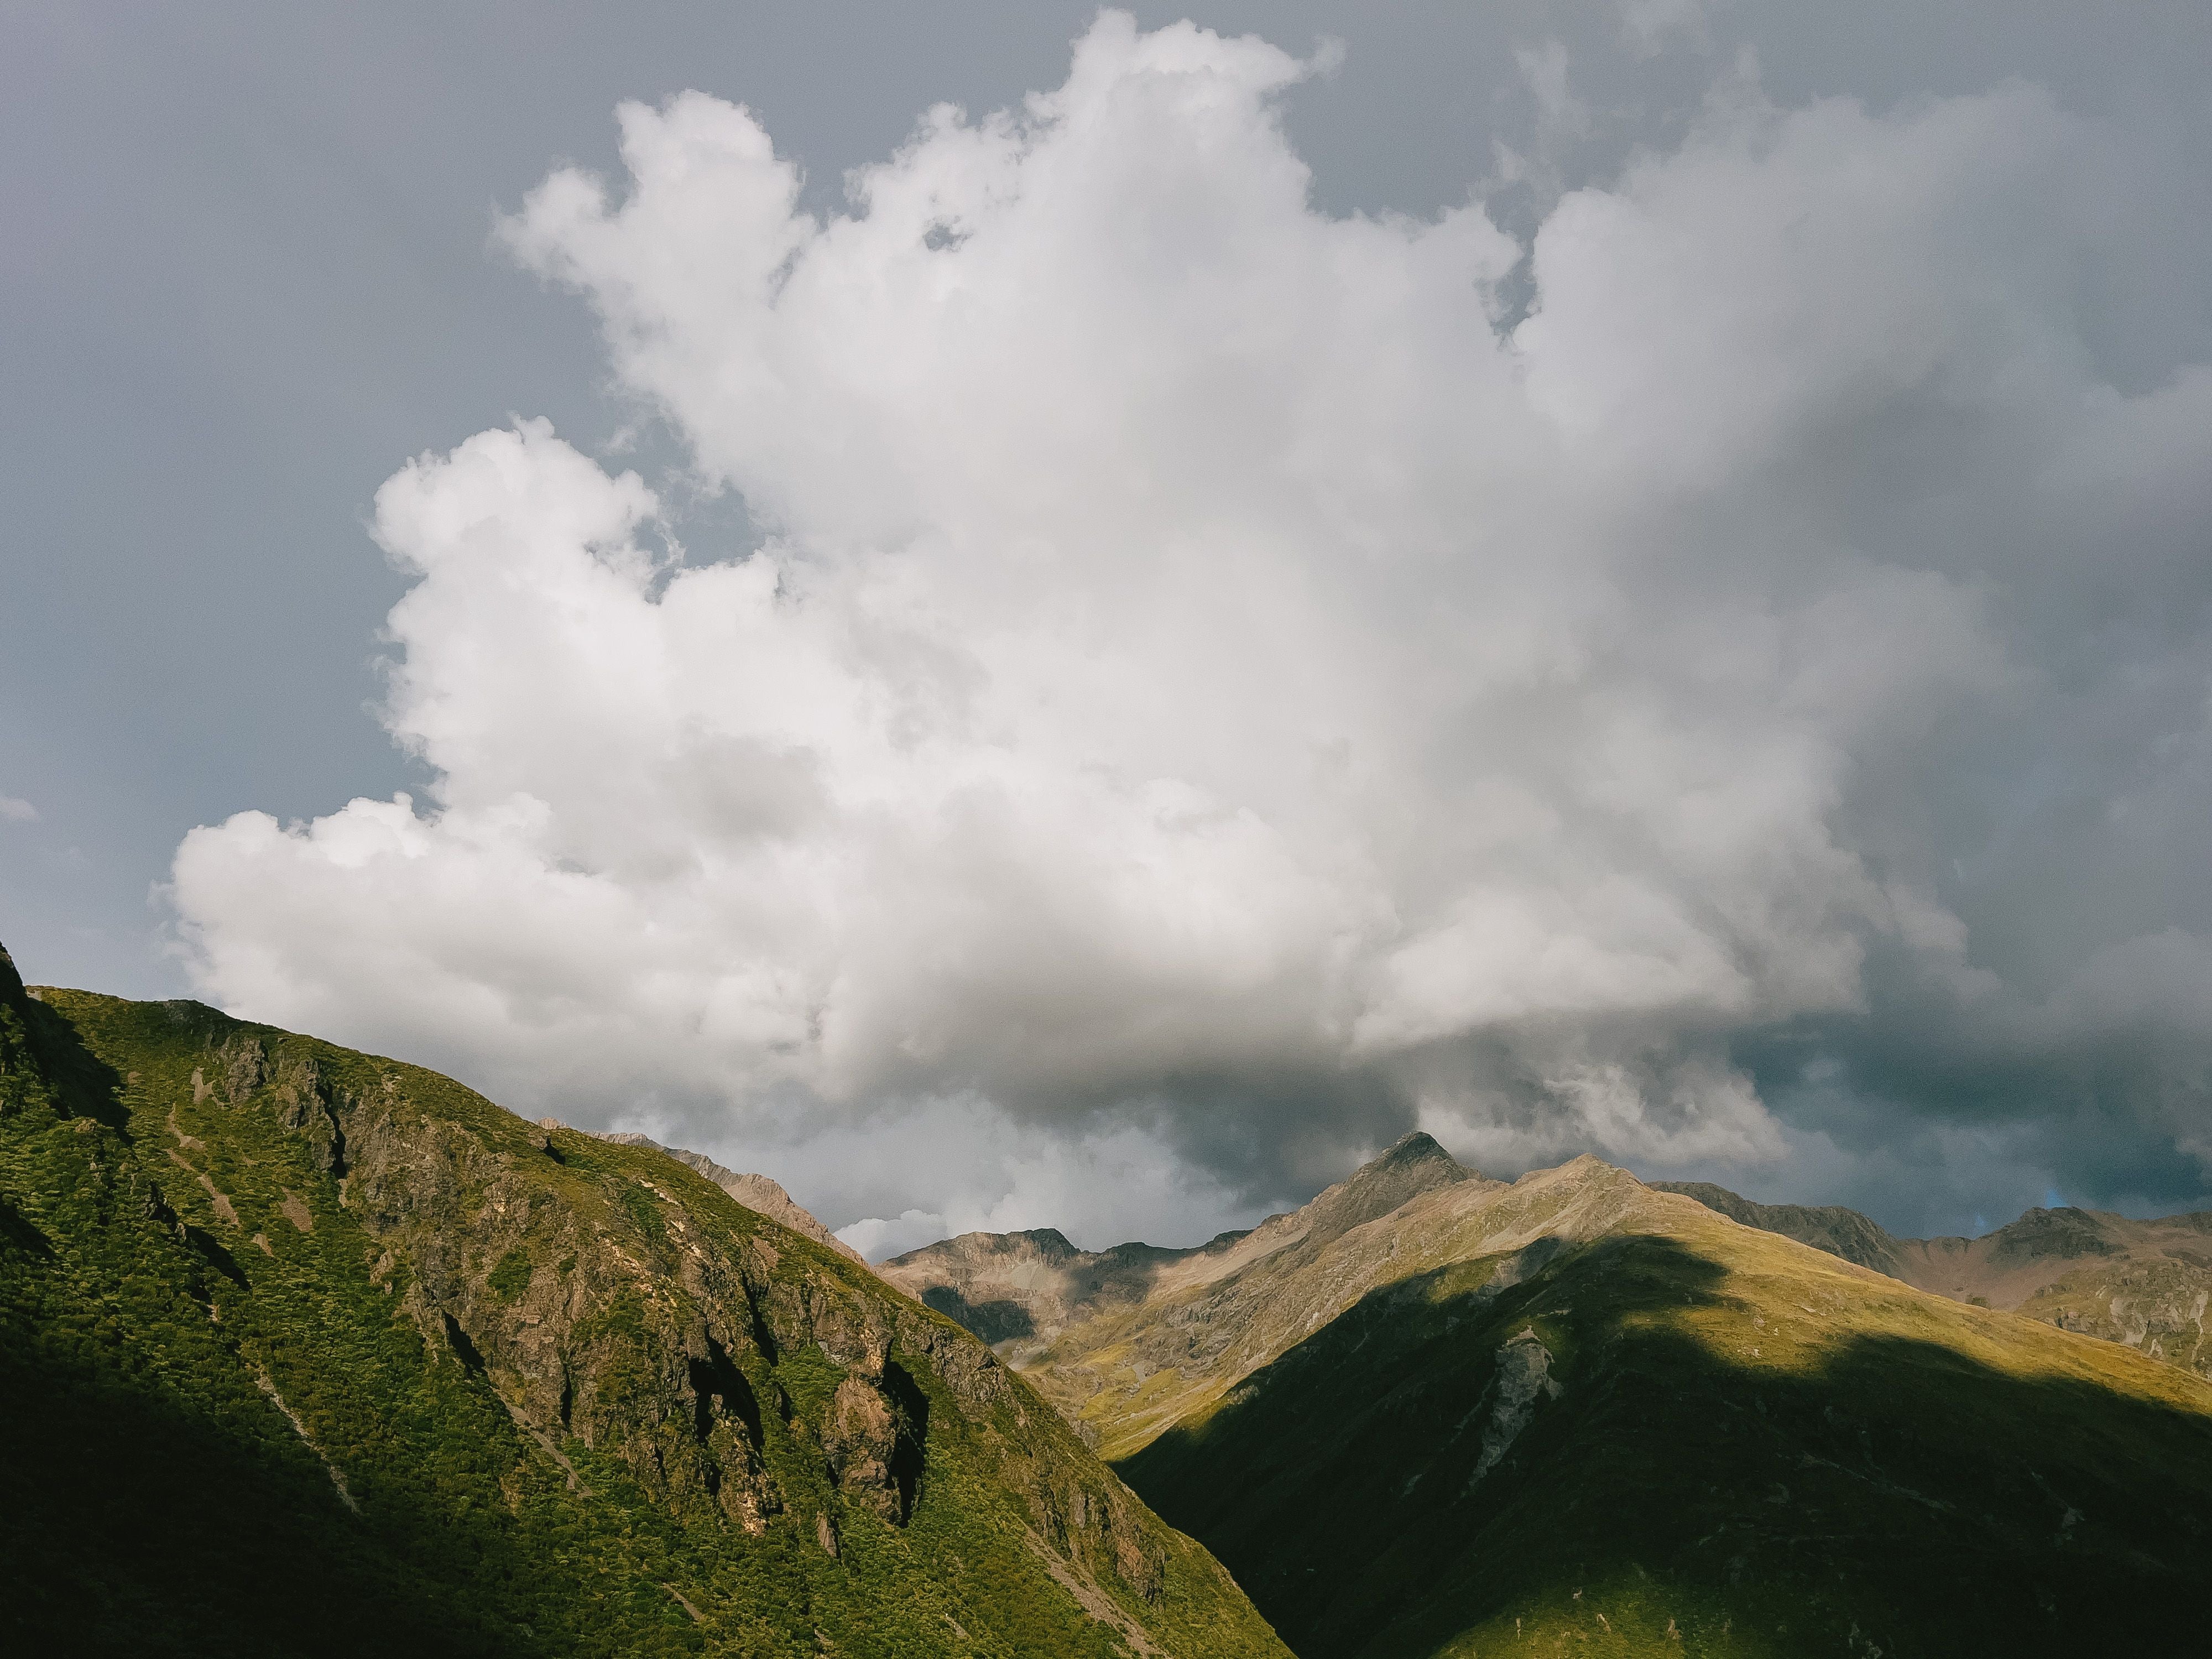
For a lot of my iPhone landscape photography I do like to use the rule of thirds in order to break my frame out into sections. In this one I have the shaded mountains on the bottom third of the frame and the darker clouds at the top third of the frame kind of hemming in the mountain subject, the peak on the right side of the frame.


Foreground Element:
For my composition with the iPhone I like to try to have a bit of a foreground element to help with scale, sometimes it is harder to tell how close or far away a subject is without something to compare it to!


Leading Lines:
I also like to use leading lines to bring your eyes around the frame. In this one I like how the line of the river leads up and around to the road and the canyon beyond, or depending on where your eyes start maybe the lines of the canyon lead the way down to the river and road below. Believe me, I waited for a nice bright red car to drive down the road for a while, but alas up in the rural mountains that isn’t always possible!


Multiple Lenses:
One of the most powerful aspects of shooting with an iPhone is that you have multiple lenses all built in! One of my favorite techniques for landscape photography is to use a telephoto lens to bring my subject closer, giving me a better sense of the details.


Having multiple lenses packed into one small package is a godsend for creative angles and for seeing how different focal lengths look in different situations without having to get a big camera out and swap lenses.
Here are a few examples of before/after with iPhone 13 Pro ProRaw images, edited in Lightroom Classic.

You can see that the ProRaw image coming straight out of camera lacks contrast and color, but doing some work in Lightroom can really bring that back into the image.

Black and White:
Another option for landscape photography, especially if you are in drab skies with little light, is to focus more on shapes, lines, and textures and convert your images to black and white.


Tips
Use a Tripod:
Use Filters:
Leer más
9 Photo Spots in Phoenix... That Don’t Feel Like Phoenix When you hear “Phoenix,” you probably picture flat land, shiny chrome buildings, and bone-dry desert... And tha...