Panoramic photography isn’t a new concept; photographers have been stitching landscape images together for decades to achieve a more comprehensive and detailed final picture. But what happens when your panorama subject isn’t a landscape but a person? Believe it or not, there’s a name for this – a Brenizer portrait.
How To Create Medium Format Film Portrait Panoramas | Brenizer Method

The Long Weekend Santa Fe Shoulder Bag Full Review (& Video!)
The best everyday bag for film photographers? Creator, Steven Schultz, writes a full review on the ultra-popular shoulder bag designed for any nomad.
Read moreHow Did Portrait Panoramas Start?
Where does this name come from? This technique is named after Ryan Brenizer, a renowned wedding photographer who developed and popularized this process in 2008. You may have also heard of it as a portrait panorama or bokeh panorama.


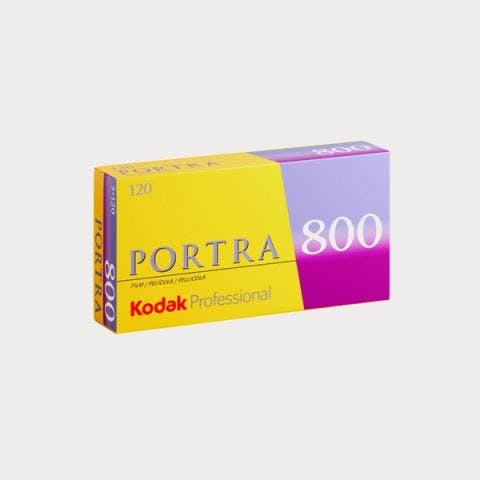
Professional Portra 800 Color Negative 120 Film - 5 Rolls - 5 Rolls
Kodak
Kodak Professional Portra 800 120 film delivers all the advantages of a high-speed film along with finer grain, higher sharpness, and more natural skin tones and color reproduction. Portra 800 film de...
Add for $75.99My Process
I typically capture anywhere from 9-15 images for my panoramas and stitch them together in Lightroom, though you can use however many photos you wish. Photographers usually use this method to achieve a “medium format look” with a full-frame camera, meaning you get a broader image with much more depth than you usually would. Instead of using a full-frame camera, I used my Mamiya 645AFD + 80mm f/2.8 lens. This excellent medium format film camera means the final stitched image will probably have a crazy amount of depth, maybe even similar to a “large format” image.
The tricky metier with Brenizer portraits is when I create them digitally, I typically use the back button to focus on the first image and then keep that locked focus for the remaining photos. However, my Mamiya doesn’t have a back button focus. Instead, I’ll half-press the shutter to focus for the first image, take that image, switch to manual focus, and then take the remaining photos—super hoping this actually turns out.
(pssssst… I tried this same technique with an ENTIRE roll of film. Watch how I did it here!)


Professional Portra 400 Color Negative 120 Film - 5 Rolls
Kodak
At true ISO 400 speed, this Portra 120 film delivers spectacular skin tones plus exceptional color saturation over a wide range of lighting conditions. For years, professionals have preferred Kodak Pr...
Add for $64.99Post-Production
- Import your film scans into Lightroom
- Select your first image and click control + N to open up Negative Lab Pro, which is my favorite film conversion plugin.
- Paste that edit on the next images in your Brenizer portrait. Make sure the crops don’t include any of the black borders of the film strip.
- After converting every image that will be included in the panorama, select the images and export them as JPEGs. Don’t export as TIFFs, because the colors get weird when you stitch them into a panorama.
- Re-import these new JPEGs, select all of them, and click Panorama. Toggle between each of the Cylindrical, Spherical, and Perspective options to see which one works best for your specific image.


Santa Fe Shoulder Bag - Creme-Multi
Long Weekend
Inspired by long road trips and shooting film, this is the shoulder bag we’ve always wanted to make. With the perfect blend of size and organization, it’s designed to carry everything you need and not...
Add for $60And there’s your Brenizer portrait / panoramic portrait/panorama portrait, whatever name you like best! This technique is so fun to experiment with and reminds me of why I love photography: to spark new ideas and nurture creativity.
L-308X-U Flashmate Light Meter
Sekonic
The pocket-sized Sekonic L-308X-U FLASHMATE is the smallest and lightest digital light meter in the Sekonic line-up. Featuring dedicated modes for photography, cinematography and HD cinematography, pl...
Add for $229Film Pouch - 5 Rolls
Long Weekend
Still using ziploc bags to carry your film? This is our simple, reusable solution to keeping your rolls more organized. Available in 2 sizes, it has a center divider so you can separate fresh rolls fr...
Add for $21


